Adding a Black Box to a Library
There are two ways to add a Black Box object to a Library:
- Right-click the library or the folder in the library, click Add, Black Box.
In the Properties Panel
a. Enter the name. Most often the name will be the Part Number.
For that reason, Wiring Planner will automatically populate the Part Number field with the value entered in Name.
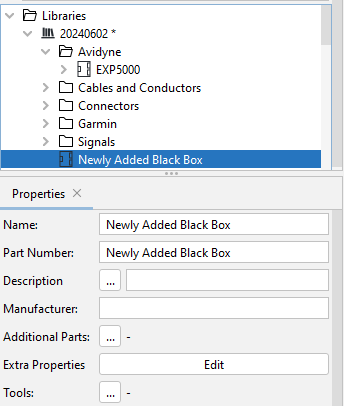
b. If the Part Number is different from the Name, enter it in Part Number
Description and Manufacturer are optional fields.
2. When aBlack Box had previously been created in a Project Model, that does not exist in a Library, one can add that Black Box to a Library of choice.
If a Black Box has been defined in the Project Model it may be added to the Library so that it can be reused. Right-click the Black Box in the Project Model and select Create Library Entry from the context menu. The Black Box will appear in the Library, and the original Black Box in the Project Model will be typed by the new Library Black Box.
Related Topic
Editing and/or Extending a Library